

Last Updated: November 5, 2026
Quick Summary
The most common squatting mistakes are heels lifting, excessive forward lean, knees caving inward and a rounded lower back, and most of them come from fatigue rather than too much weight. Fix them by dropping the load, bracing your belly before each descent, and rebuilding the pattern with ankle work, hip strength and controlled reps.
- Form usually breaks down from fatigue, so watch your reps closely after the first few.
- Brace your belly and take a full breath before you sit down into the squat.
- Elevate your heels on a 5-10 pound plate if your heels keep lifting.
- Push your knees out in line with your toes to correct knee valgus.
- Spend five to ten minutes on mobility drills before heavy sets.
Table of Contents
- Why Squat Form Breaks Down Before Weight Does
- How to Squat With Proper Form: Setup, Stance and Bracing
- Mistake 1 and 2: Heels Lifting and Excessive Forward Lean
- How to Fix Knee Valgus in Squats
- Mobility Work That Makes Good Squat Depth Possible
- Building Up With a Bodyweight Squat Progression
- Your Next Session: A Simple Squat Checklist to Practice
- Frequently Asked Questions
Why Squat Form Breaks Down Before Weight Does
Form usually fails under fatigue, not because the load is too heavy, and that is where most squatting mistakes begin. A set that looks clean on rep one can fall apart by rep six.
The most common warning signs are:
- Heels rising off the floor
- The torso folding forward
- Knees drifting inward
- The lower back rounding at the bottom
When you see one of these, drop the load and rebuild the pattern. Trying to push through usually reinforces the fault.
How to Squat With Proper Form: Setup, Stance and Bracing
A good squat starts before you descend. Your setup decides most of what happens next.
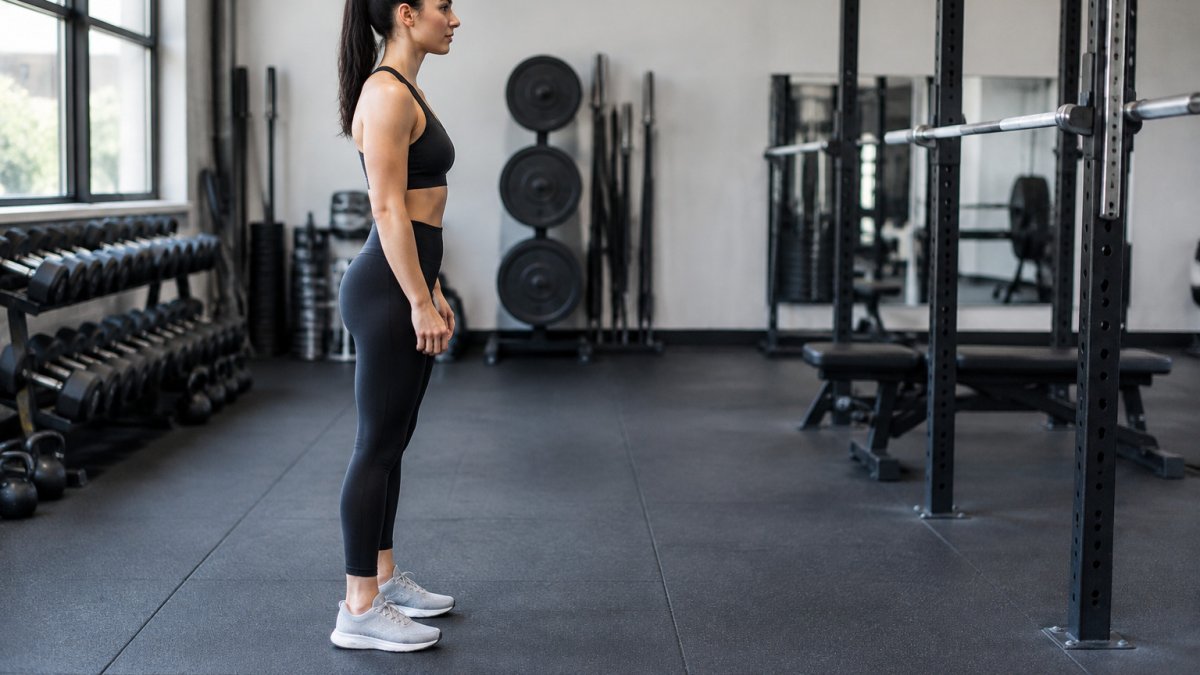
Follow these steps:
- Set your feet about shoulder-width apart, with toes slightly turned out.
- Brace your core as if you expect a light punch to the stomach.
- Take a full breath into your belly and hold it.
- Sit down and back, keeping your weight across the whole foot.
- Drive up through the mid-foot until you stand tall.
Watch out: Bracing with your chest instead of your belly makes the lower back round under load.
!Person in athletic wear standing in a gym with feet shoulder-width apart, chest up and weight balanced mid-foot, shot from the side. The person is American.
Mistake 1 and 2: Heels Lifting and Excessive Forward Lean
These two faults often travel together. When the heels lift, the body shifts forward to keep balance.
Heels lifting usually means ankle mobility is limited or the weight sits too far forward. To fix it:
- Elevate your heels on a 5-10 pound plate for a few sets.
- Practice ankle stretches for a few minutes before lifting.
- Keep your weight spread across the whole foot, not the toes.
Excessive forward lean often shows up when the hips rise faster than the chest. To fix it:
- Lead the movement by sitting back into your hips first.
- Keep your chest proud and your eyes forward.
- Film a set from the side to check your torso angle.
How to Fix Knee Valgus in Squats
Knee valgus means the knees collapse inward during the squat. It can put extra stress on the joints, so it is worth correcting early.
Try these fixes:
- Push your knees out in line with your toes as you descend.
- Use a light band above the knees for activation work.
- Strengthen your hips with glute-focused exercises.
- Reduce the load until the knees track properly.
Mobility Work That Makes Good Squat Depth Possible
Work through this fabric-first diagnostic before you add mobility drills:
- Waistband roll or dig-in: The elastic or drawcord has lost recovery, or the band is cut too narrow for the rise. Fix by reinforcing the band with a wide elastic insert or replacing the drawcord with a flat, non-stretch one.
- Seam pull at the hip crease: The seam allowance is too tight for deep flexion. Fix by letting out the seam 1/4 to 1/2 inch and re-sewing with a stretch stitch.
- Knee panel binding: A non-stretch patch or double layer over the knee restricts the bottom position. Fix by replacing it with a four-way stretch panel or removing the layer.
- Rise too short: The garment pulls down in the back at depth. Fix by adding a gusset or moving to a higher-rise cut.
Spend five to ten minutes on these before heavy sets:
- Deep goblet hold: Hold a light weight in the bottom position for 30 seconds.
- Ankle rocks: Drive each knee forward over the toes, 10 reps per side.
- Hip flexor stretch: Hold for 30 seconds per side.
- Thoracic rotations: Perform 8 reps per side while seated or kneeling.
Watch out: Stretching a synthetic blend past its elastic limit during a warm-up can leave the fabric permanently bagged out at the knees and seat, so keep the drills controlled and avoid yanking on the garment. Keeping warm-up movements controlled protects the fabric as well as your joints, and the same attention to detail can help you correct lifting form mistakes before they become habits.
Building Up With a Bodyweight Squat Progression
When a garment fails mid-squat, the fix depends on the damage type and the fabric. Use this decision guide to pick a repair method that holds up under load instead of failing on the next set.
| Damage type | Best method | Why | Durability under squat load |
|---|---|---|---|
| Snag or pulled thread | Needle re-knit or fine hook | Restores the loop without adding bulk | High if the thread is matched |
| Small hole (under 1/4 inch) | Fabric adhesive or hand darn | Fast, low-profile | Medium; adhesive can stiffen stretch fabric |
| Tear along a seam | Re-sew with a stretch stitch | Rebuilds the seam allowance | High |
| Blown-out crotch or gusset | Stretch patch plus seam reinforcement | Adds a load-bearing layer | High |
| Worn thin at knee or seat | Heat-activated patch or panel replacement | Restores fabric body | Medium to high |
| Loose lettering or crest | Reattach with flexible adhesive or stitch | Keeps graphics in place | Medium; heat can damage prints |
Fabric-specific guidance:
- Polyester and polyester blends: Use a ballpoint or stretch needle (size 75/11 or 80/12) and polyester thread. A universal needle cuts the knit and creates runs.
- Elastane and spandex blends: Avoid high heat.
- Mesh: Back the repair with a lightweight fusible interfacing before stitching so the mesh does not tear out around the repair.
- Waterproof or coated fabrics: Sewn repairs create needle holes that leak. Use a fabric adhesive or a heat-activated patch designed for coated fabrics, and seal seams with a seam-sealing tape.
Aftercare for repaired athletic apparel:
- Wash inside out in cold water on a gentle cycle.
- Skip the dryer for heat-activated patches and adhesives; air dry flat.
- Avoid fabric softener, which can break down adhesives and elastic.
- Do not iron directly over a patch or print; use a pressing cloth on low heat.
Watch out: Applying an iron directly to a synthetic patch or a printed logo can melt the fabric or lift the graphic, so always test on an inside seam first.
**
Your Next Session: A Simple Squat Checklist to Practice
Use this checklist before your next squat session:
- Heels stay flat through the entire rep
- Chest stays up and torso angle stays steady
- Knees track over the toes, not caving inward
- Core is braced before every descent
- Depth matches what your mobility allows
- Reps stay controlled, without bouncing at the bottom
Practice this checklist for two or three sessions. Small, consistent adjustments tend to produce the biggest gains in both safety and strength.
Burrow Athletic makes performance-driven gear for lifters who train with purpose. Explore our GOAT headwear, then head to the gym and put these fixes to work.
Frequently Asked Questions
Why do my knees cave in when I squat?
Knee cave, also called knee valgus, usually comes from weak hip abductors and glute medius, limited ankle mobility, or driving up with the feet turned in too far. Start by lightly pressing your knees outward in the direction your toes point, then build strength with banded glute work and lateral step exercises. Practicing the squat with a light band above the knees gives you a physical cue to keep the joint tracking over the toes, which helps the pattern carry over to unloaded and loaded reps.
Should my knees go past my toes when squatting?
Yes, for most people the knees can travel forward past the toes as long as the heels stay down and the knees track in line with the feet. Restricting knee travel often shifts more load to the lower back and hips. What matters more is controlling the path of the knees and keeping pressure through the mid-foot. If forward knee travel causes pain, reduce depth temporarily and work on ankle mobility before forcing the movement.
How do I keep my heels down during squats?
Heel lift usually signals limited ankle dorsiflexion or a stance that is too narrow for your body. Try a slightly wider stance with toes angled out, and spread your weight across the whole foot. Ankle mobility drills such as knee-to-wall stretches, done for a few minutes daily, can improve the range you need. Elevating your heels on a 5 to 10 millimeter plate is a temporary aid that many lifters use while they build mobility.
How do I know if I am squatting correctly?
Record a set from the side and from the front, then check for four things: heels stay flat, knees track over the toes, the back keeps its natural arch without rounding, and you reach a depth you can control. Filming yourself with a smartphone at waist height is one of the simplest ways to catch errors you cannot feel. If any of these breaks down under load, drop the weight and rebuild the pattern before adding it back.
